A leaking shower can be expensive and annoying, but the solution might be simpler than you think. Before calling a plumber, learn how to diagnose and fix your leaky shower with these simple tips.
Fixing shower Tap or Shower Head
Step # 01
Clogged showerhead nozzles or faucet holes, often due to limescale buildup, can cause leaks. This simple fix might save you from extensive repairs. Remember to shut off the water supply first. Look for a bathroom valve near the shower or in the basement – it’s usually easier than turning off the house’s main water valve.
Step # 02
Disassemble the showerhead for cleaning. Mineral buildup often accumulates in removable parts, so you’ll need to take them off for soaking and scrubbing.
Start by trying to unscrew just the showerhead (the holed part). If it’s detachable, this will simplify the process. Otherwise, proceed with removing the entire shower unit.
Remember, the removal method depends on your specific brand and model. Look for screws around the showerhead or base. Unscrew them and follow the manufacturer’s instructions for removal, which usually involve turning the part counterclockwise or pulling it straight out.
Step # 03
Soak the showerhead in white vinegar for 8 hours to dissolve mineral buildup. Find a container large enough to fully submerge the showerhead. If you have multiple bathrooms, your sink might work if it’s deep enough. Fill the container with enough vinegar to completely cover the showerhead. Set a timer for 8 hours, or note the start time as you submerge the head. The vinegar will work its magic over the next few hours, dissolving the buildup and deposits.
Step # 04
After soaking for 8 hours, the limescale and other deposits should be softened. It’s time to dislodge them:
- Use a toothpick or a narrow object (like a small nail) to gently poke through each hole in the shower head, removing any loosened debris. Be careful not to damage the holes with sharp objects.
- Scrub the shower head thoroughly with a stiff plastic brush, paying special attention to the areas around the holes. The vinegar and brushing should remove most of the remaining buildup.
Step # 05
Reassemble the shower by attaching the cleaned parts back to the installation. Remember to turn off the valve before reattaching. Once complete, turn the water supply back on and check for leaks. If the shower no longer leaks, congratulations! You’ve successfully fixed the issue. However, if leaks persist, the problem might lie elsewhere. Consider seeking further diagnosis or professional help.
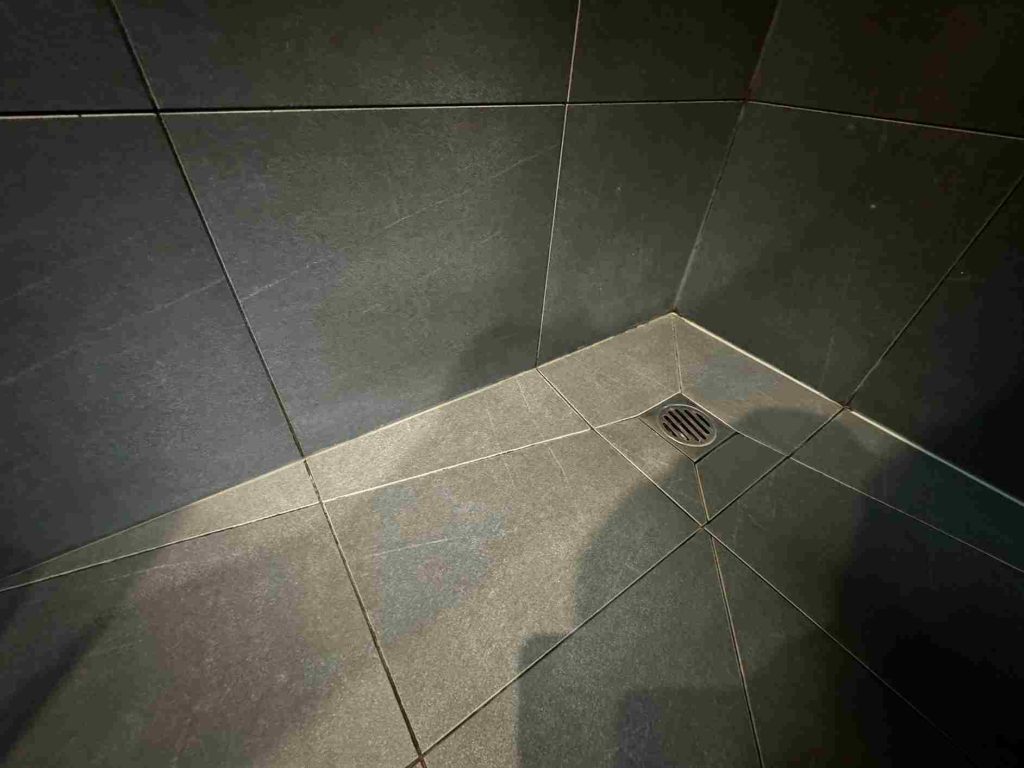
Fix a Leaking Shower Floor
In Australia, where most showers have tiled floors, repairing leaks promptly is crucial to maintain the integrity of the shower and prevent further damage.
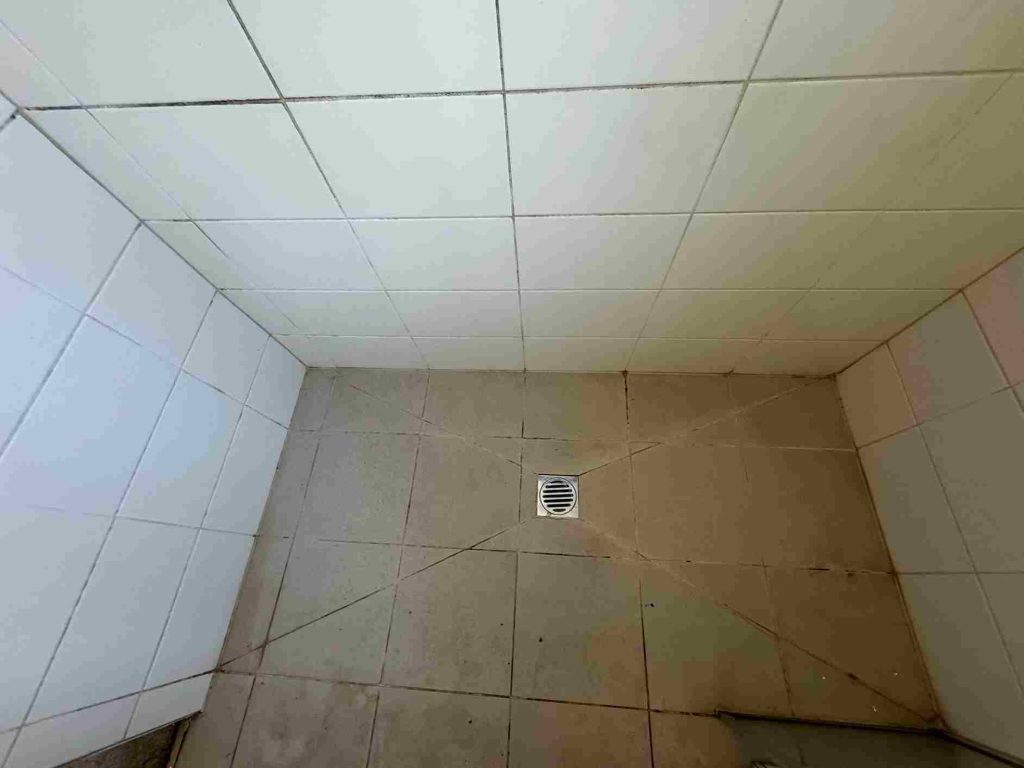
Cleaning the tiles
Before fixing the tile, thoroughly clean it with a mild tile detergent. Allow it to air dry completely, or for at least one day if using a specific drying method.
Apply grouting
Once the floor dries completely, ensure all gaps between the tiles are fully filled with high-quality grout. Follow the manufacturer’s instructions for proper curing time, which is different from drying. For optimal curing, consider opening windows or using a fan for additional ventilation.
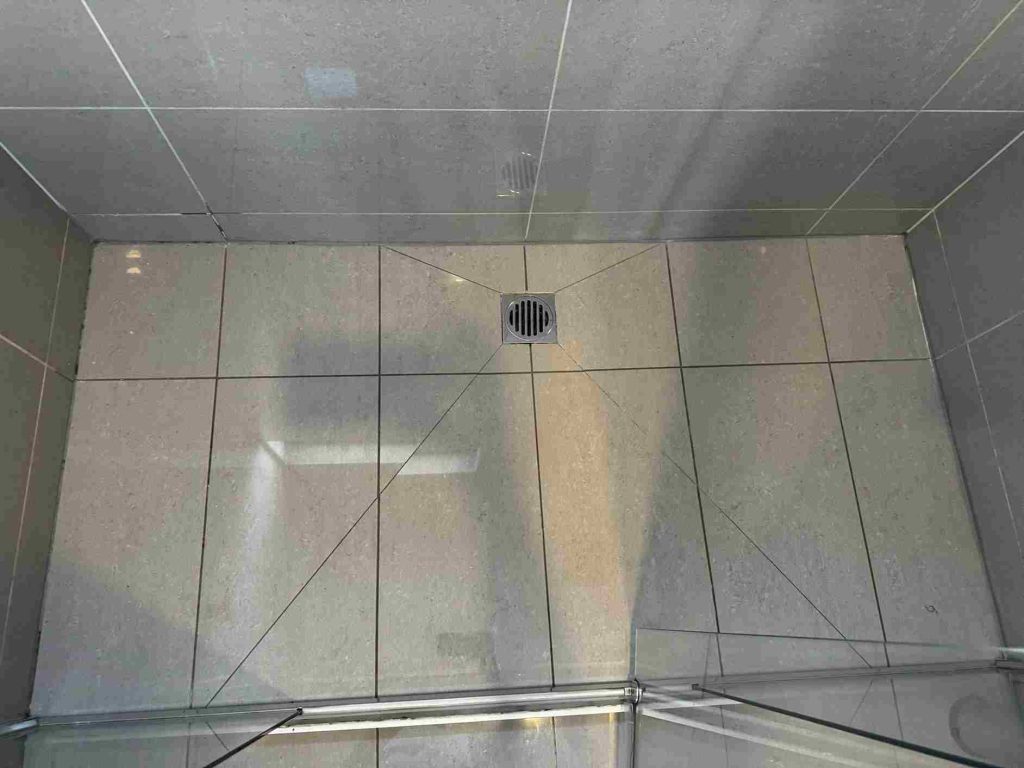
Wash the Floor
After the grout cures completely (not dries), typically 24-48 hours depending on the product and weather, clean the floor thoroughly with a damp cloth or sponge and water. Be sure to remove any grout residue without disturbing the cured grout itself. This completes the basic repair, though depending on the source of the leak, further waterproofing steps might be necessary.
Fix a Leaking Shower Walls
Just like you tackled the shower floor, the walls are next! Begin by removing all shower accessories, bottles, and shelves. Open a window or turn on the exhaust fan for proper ventilation.
Pre-treating
- Soap scum: Mix equal parts white vinegar and warm water in a spray bottle. Generously spray the walls and let it sit for 5-10 minutes. This loosens soap scum for easier removal.
- Mold: If you see mold, never mix bleach with vinegar as it creates harmful fumes. Instead, opt for a commercial mold cleaner, following the instructions carefully. Always ensure proper ventilation when using such products.
Deep Cleaning Grout
- To tackle the grout lines, make a paste of baking soda and hydrogen peroxide. Apply it using a grout brush or old toothbrush. Let it sit for 15-20 minutes, then scrub and rinse thoroughly.
- Alternatively, consider a grout services.
Addressing Cracks
-
Identification: Inspect the walls for any cracks. Small hairline cracks might not require immediate attention, but larger cracks need repair.
-
Repair: For larger cracks, use a caulk specifically designed for bathrooms and showers. Ensure the area is clean and dry before applying the caulk. Strictly follow the manufacturer’s instructions for application and drying time.
Conclusion
So this all how to fix a leaking shower.Remember, safety is paramount. Always ensure proper ventilation when using cleaning products and wear appropriate gloves when handling bleach or other harsh chemicals. If you have any concerns about using specific cleaning methods or tackling larger repairs, consult a professional waterproofing services.